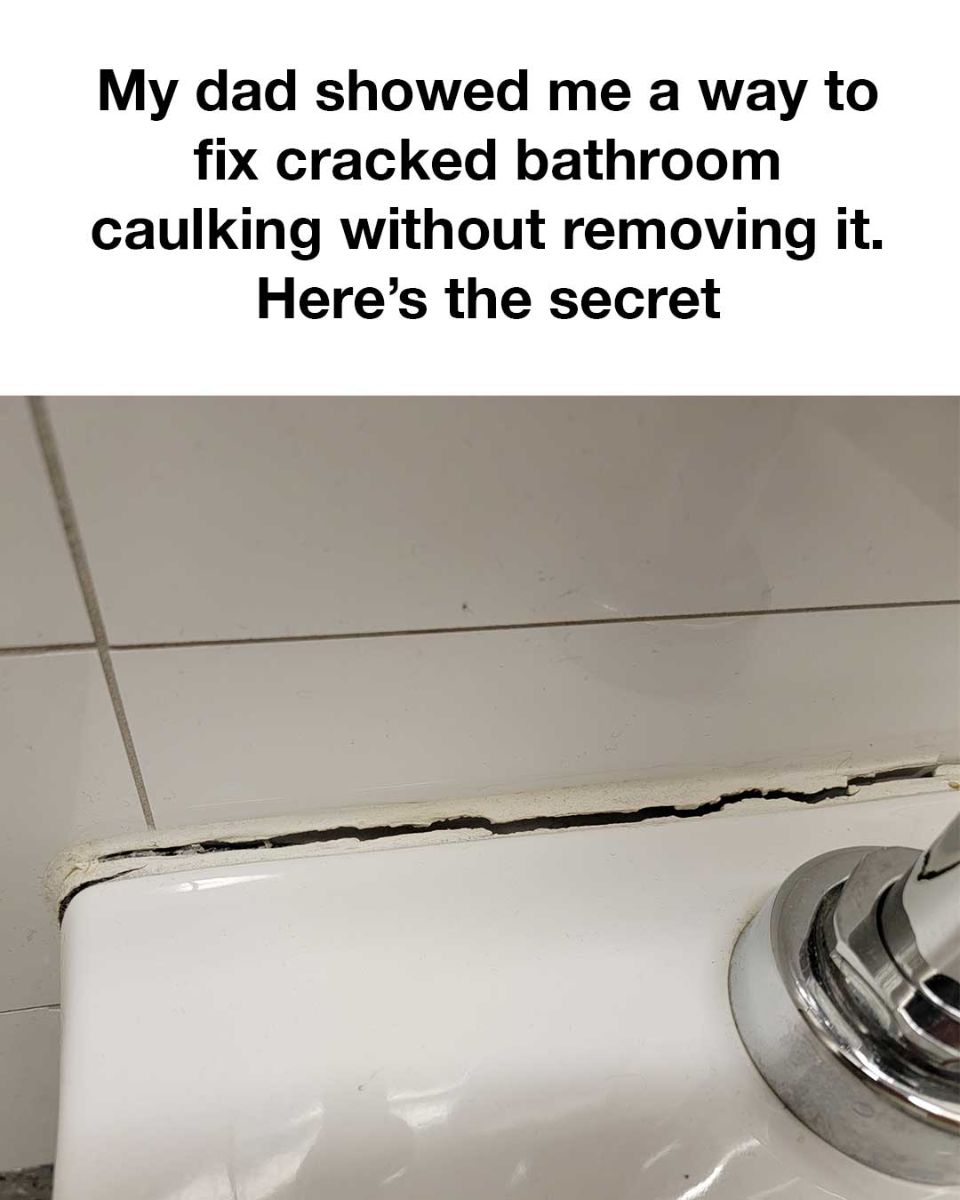
Bathroom maintenance can sometimes feel overwhelming, especially when faced with common issues like cracked caulking around tubs, sinks, or showers. While it may seem like a minor cosmetic flaw, cracked caulk can quickly turn into a bigger problem by allowing water to seep into the walls or floors, leading to mold growth or structural damage.

Most people assume that fixing this requires removing all the old caulk and starting over, which can be messy and time-consuming. Fortunately, my dad—who’s a lifelong DIY pro—taught me an incredibly simple and effective trick that allows you to fix cracked bathroom caulking without having to scrape out the old material. This method is not only easy for anyone to follow, but it also saves a significant amount of time, money, and frustration. The key to this approach is applying a new layer of silicone caulk directly over the existing cracks, provided the old caulk is still mostly intact and not moldy or peeling off entirely.
Before starting, gather a few supplies that are commonly found at any hardware or home improvement store: a tube of high-quality silicone caulk in a color that matches your current caulking, a caulk smoothing tool or even the back of a plastic spoon, a utility knife for trimming, rubbing alcohol to clean the surface, a clean cloth, and painter’s tape to ensure crisp, clean lines. Once you have your materials, the first step is to thoroughly clean the cracked area using rubbing alcohol and a clean cloth. This step is crucial because it removes any soap scum, grime, or mold spores that could interfere with the new caulk’s ability to bond properly.
Next, apply painter’s tape along both sides of the crack, which helps you control the application and keep it neat. Then, carefully squeeze a thin bead of silicone caulk over the cracked section, making sure it completely fills the gap. Immediately use your smoothing tool or spoon to press the caulk into the crack and smooth out any excess. This ensures a seamless finish and better adhesion. Once done, remove the painter’s tape before the caulk begins to set, and then allow the repaired area to cure for at least 24 hours before using the shower or exposing it to moisture. What makes this method so effective is its simplicity and practicality. Silicone caulk is designed to be flexible and waterproof, making it the perfect material for bathrooms where moisture and temperature changes are constant.
By applying a fresh layer over the damaged section, you essentially reseal the area without going through the labor of scraping everything off and recaulking from scratch. It’s an efficient way to reinforce the old caulk and extend its life while improving the overall look of your bathroom. However, it’s important to note that this method is best suited for situations where the original caulking is still in reasonably good shape and doesn’t have deep mold penetration or is lifting away from the surface. If the caulk is deteriorated beyond repair, you may need to remove it entirely before applying new material. Always read and follow the manufacturer’s instructions on the silicone caulk packaging to ensure you get the best results, and make sure the room is well-ventilated while working to help the product set properly. Another helpful tip is to use caulk labeled specifically for bathroom or kitchen use, as these are typically formulated with mildew-resistant additives. In conclusion, fixing cracked caulking in your bathroom doesn’t have to be a dreaded task. Thanks to this simple hack passed down from my dad, anyone can refresh the look and functionality of their bathroom in just a few easy steps. This quick fix not only improves the appearance of your caulking but also reinforces its protective barrier, preventing potential water damage and keeping your space clean and safe. Whether you’re an experienced DIYer or just starting out, this time-saving solution is a smart and effective way to maintain one of the most important rooms in your home.


